Last updated November 20, 2026
 Raised-panel steel
 Carriage house
 Modern flush
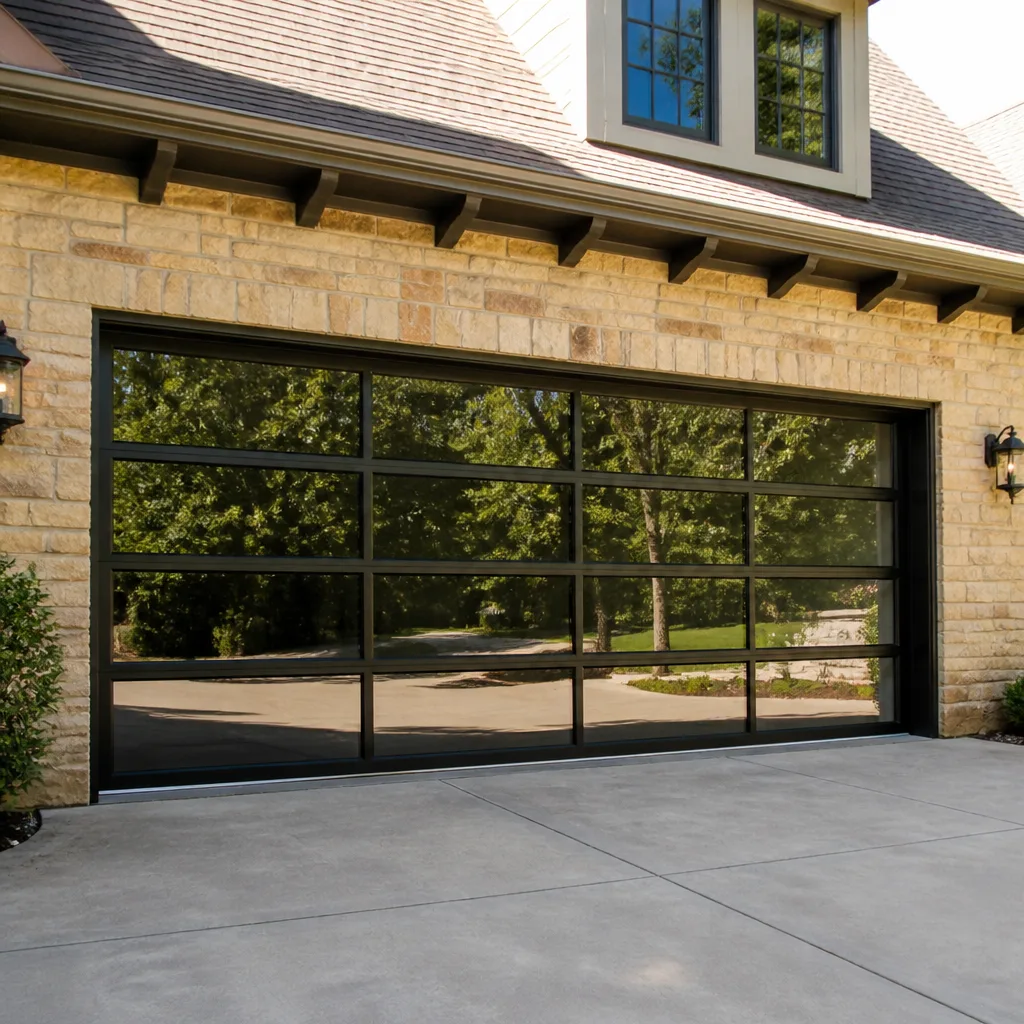 Full-view glass
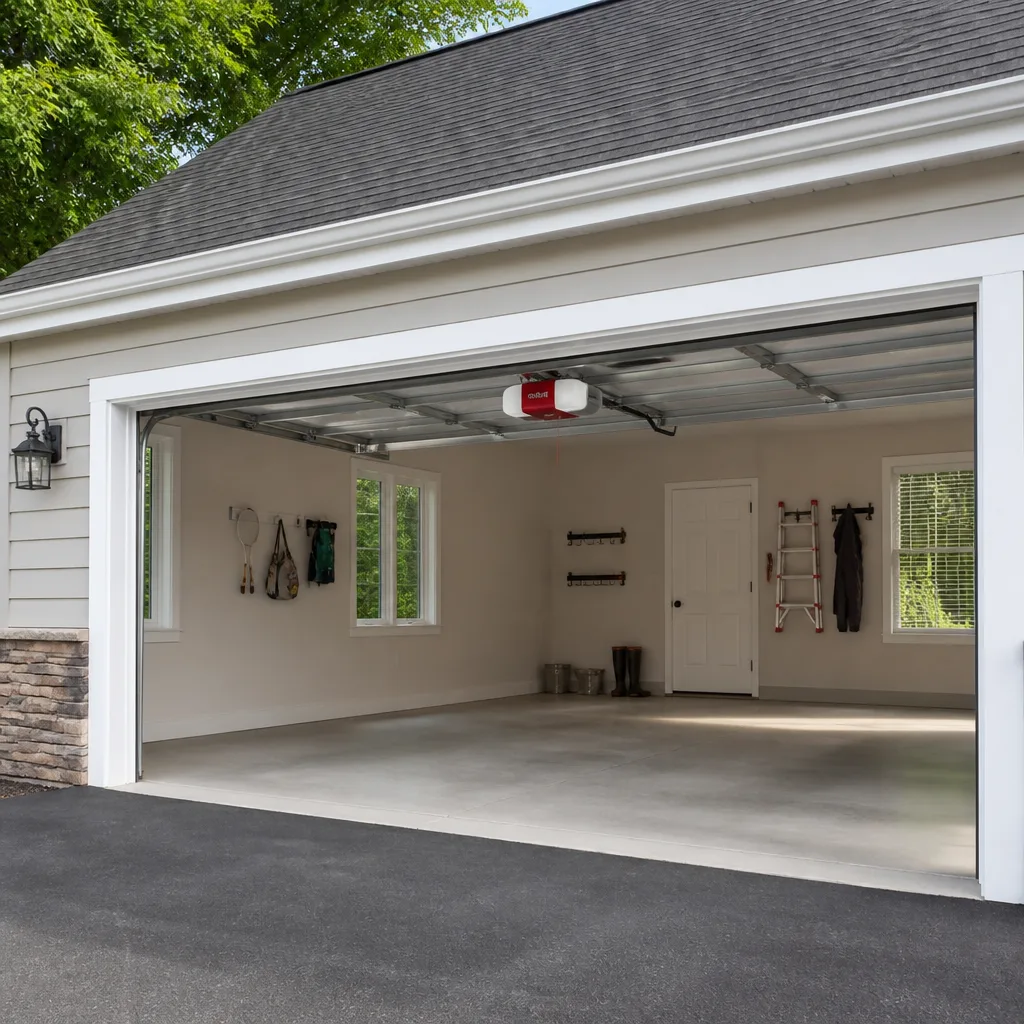 LiftMaster openers
 Chamberlain openers
Full 25-point door and opener safety check with every visit - springs, cables, rollers, tracks, and your LiftMaster or Chamberlain opener included
You get a price before we start. It does not change when the pro arrives.
Get your free estimateGarage Door Repair Maintenance Checklist for Shoreline Homeowners
Most garage door advice tells you to lubricate everything twice a year and call it done. That’s the wrong advice for a wet Shoreline winter, and it’s why so many doors here start grinding years before they should. The parts that fail first in this climate aren’t the ones the pamphlets talk about, and the lubricant that helps one component can actively gum up another. This guide gives you a timed, prioritized checklist built around how doors actually wear in Shoreline – what to touch monthly, quarterly, and once a year, which products go where, and the clear line between what you can safely handle and what needs a technician.
Quick Answer
A workable garage door maintenance routine for a Shoreline home is short: a monthly visual check and balance test, quarterly lubrication of hinges, rollers, and the torsion spring with a garage-door-specific lubricant, and an annual inspection of cables, tracks, weather seals, and hardware tightness. In this climate, the two things that matter most are keeping the bottom seal and tracks clean of standing moisture and never lubricating the tracks themselves. Anything involving springs, cables, or a door that’s off-balance is a job for a trained technician, not a weekend project.
Styles & brands we work with
- Raised-panel steel
- Carriage house
- Modern flush
- Full-view glass
- LiftMaster openers
- Chamberlain openers
Table of Contents
- Why Timing Matters More Than the Checklist Itself
- The Monthly Check: 15 Minutes That Catch Problems Early
- The Quarterly Lubrication Routine (and What Never to Use)
- The Annual Deep Inspection for Shoreline Homes
- How to Run a Balance Test and Force Test at Home
- Moisture and Wear Points Specific to Our Wet Winters
- What You Can Safely Do vs. What Needs a Technician
- Brand Notes: Opener and Door-Specific Tips
Why Timing Matters More Than the Checklist Itself
A checklist you run once and forget is worse than no checklist, because it gives you false confidence. A garage door is a system of moving parts under constant tension, and problems in Shoreline don’t appear all at once. They build through wet seasons and dry spells. The door that squeaked in October grinds by February, and the bottom seal that looked fine in summer is holding a puddle against the door panel by December.
What we’ve seen in our repair work is that the homeowner who does a short, frequent check catches the cheap problems before they become the expensive ones. A hinge that’s starting to seize costs nothing to lubricate. Once it wears through and the roller starts binding in the track, you’re looking at a repair instead of a few minutes with a lubricant can.
So this guide is built around frequency, not exhaustiveness. You don’t need to inspect every bolt every weekend. You need to know which parts need attention monthly, which need it quarterly, and which can wait for an annual pass. Match the task to the interval, and the whole routine takes about 45 minutes over the course of a year.
One thing that matters here specifically: Shoreline gets rain for months at a time. Doors that stay wet – from tracked-in moisture, from a seal that traps water, from drainage that runs toward the opening – will corrode faster on the bottom hardware than a door in a drier spot. That’s why the moisture section below gets its own treatment. The general lubrication schedule is the same, but the wear points in a wet climate shift toward the bottom of the door.
The Monthly Check: 15 Minutes That Catch Problems Early
The monthly routine is a walk-around, not a project. Give it fifteen minutes. You’re looking and listening, not adjusting anything.
- Open and close the door and listen. A healthy door is fairly quiet. Grinding, squealing, popping, or a loud bang as it hits the floor are all worth noting. A single loud pop from the spring area is a red flag – stop running the door and call for repair.
- Watch the travel. Stand inside the garage and watch the whole cycle. The door should move smoothly and evenly. Any hesitation, jerking, or a door that goes up crooked means it’s out of balance or a cable is failing.
- Check the tracks visually. Look for dents, debris, or anything bent. You don’t need to pull out a level. A dents-and-debris check is enough.
- Confirm the safety reverse. Put a roll of paper towels or a piece of scrap wood under the door’s path and close the door with the opener. It should reverse when it touches the object. If it doesn’t, the opener’s safety adjustment needs attention before you use the door again.
- Look at the bottom seal. In a wet Shoreline winter, the rubber seal is the first place moisture gets trapped. If water pools inside the door line after rain, the seal or the threshold is your problem.
- Glance at the opener’s light and housing. If the opener is a LiftMaster, Chamberlain, or Genie, the indicator light tells you a lot. On most of these, a blinking pattern means a safety sensor issue. Blinking lights are the easiest opener problems to diagnose without tools.
Total time for a homeowner who does this consistently: about fifteen minutes. If the monthly check turns up nothing, you’re done. If it turns up a hop, a grind, or a blinking light, you’ve caught it before the door fails.
The Quarterly Lubrication Routine (and What Never to Use)
This is where most of the damage gets done wrong. Homeowners reach for WD-40 or 3-in-One and spray the whole door. That’s a mistake. The right lubricant depends on the part, and one of the parts on your garage door should never be lubricated at all.
Which lubricant goes where
- Hinges and rollers: Use a garage-door-specific spray or a white lithium grease. Apply to the hinge pivot points and the roller bearings – not the roller wheels themselves. A small amount on a finger or a spray with a straw nozzle. Wipe off the excess.
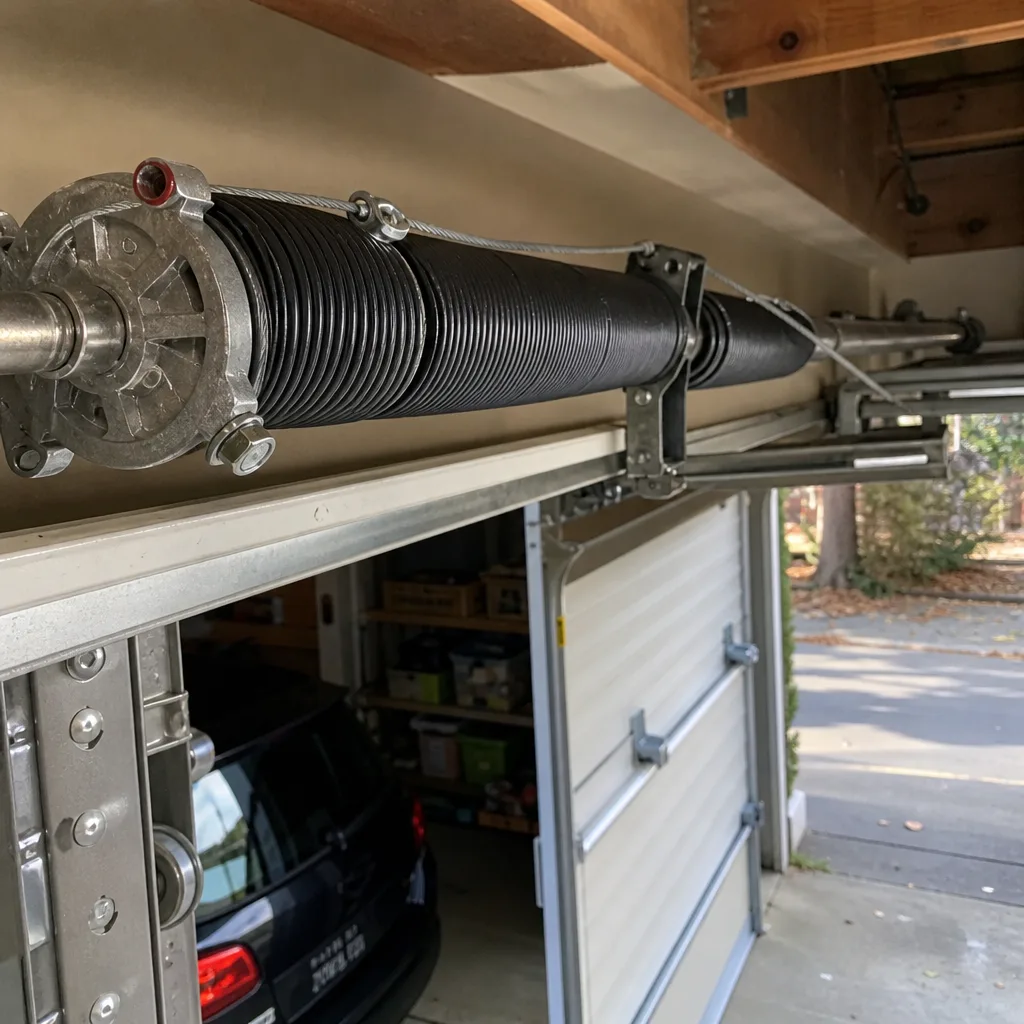
- Torsion spring (the coiled spring above the door): A light coat of garage-door lubricant on the spring coils helps with squeaking and slows surface rust. Do not over-lubricate. You are not trying to oil the mechanism – you’re coating the coils lightly.
- Opener rail and chain: Use a garage-door-specific opener lubricant or a dry silicone. Never use grease on a chain drive – it attracts grit and wears the chain faster. Belt-drive openers generally don’t need rail lubrication at all.
- Rollers (metal or nylon): A drop of lubricant on the stem of the roller helps, but the roller itself doesn’t need coating.
What never to use on a garage door
Do not lubricate the tracks. This is the single biggest mistake homeowners make. The tracks are supposed to be clean and dry. A greased track collects grit, the rollers slide instead of rolling, and the whole system starts to bind. Wipe the tracks down with a damp cloth and leave them alone.
Don’t use WD-40 as a long-term lubricant. It’s a penetrating oil and a light solvent – it works fine for loosening a stuck bolt, but on hinges and rollers it dries out and attracts dust. If you’ve been using WD-40 for years, you’ve probably got a door that needs a proper greasing more often than it should.
Don’t use motor oil, cooking oil, or general-purpose grease from the hardware store shelf. Garage doors need a lubricant that stays put and doesn’t run in the heat. White lithium and the spray lubricants sold specifically for garage doors are the reliable choices.
In our experience, the doors that come in with seized hinges and worn rollers are often the ones that got over-lubricated with the wrong product, not under-lubricated. The routine is simple: every three months, hinges and rollers get a light application, the spring coils get a thin coat, and the tracks get wiped clean and left dry. That’s the whole job.
The Annual Deep Inspection for Shoreline Homes
Once a year, preferably before the wet season starts, give the door a closer look. This is the inspection that catches the things the monthly and quarterly checks miss. Allow about an hour.
- Inspect the cables. Look at the cables that run from the bottom corners up to the drums. They should be taut and smooth. Frayed strands, kinks, or slack indicate a cable that’s failing. Cables are under extreme tension – do not attempt to adjust or replace them yourself. If you see fraying or slack, stop using the door and call for repair.
- Check the hinge screws and mounting hardware. Garage doors vibrate. Screws back out. Go around the hinges and the mounting brackets with a screwdriver and snug anything loose. Vibration loosening is slow, so once a year catches it.
- Inspect the bottom seal for moisture damage. This is the Shoreline-specific part. Our wet winters take a toll on the rubber seal and the bottom panel. Look for a seal that’s hardened, cracked, torn, or holding water. A compromised seal lets rain in and lets heat out. It also accelerates rust on the bottom of the door panel.
- Look at the tracks for alignment. Both tracks should be parallel and the same distance from the door. If you see a gap that’s wider on one side, the door is starting to bind on one edge. Slight misalignment can be corrected, but significant track damage usually needs a professional.
- Inspect the door panels and hardware for rust. Look at the bottom of the door, the hinges, the roller stems, and the mounting plates. Rust shows up first on the bottom hardware because that’s where moisture collects. Light surface rust can be cleaned and treated. Extensive rust on structural parts is a replacement sign, or at least a professional repair.
- Test the safety reverse again. Check it more thoroughly at the annual pass. Adjust the force setting if the opener’s manual allows it – most LiftMaster, Chamberlain, and Genie openers have a force adjustment screw or dial.
- Check weatherstripping and the header seal. The strip across the top of the opening and the side jamb seals should be intact. A gap lets water and cold air in.
This is also the annual pass where we’d suggest a professional look if you’re not comfortable. Our technicians have up to 12 years of experience with LiftMaster, Chamberlain, Genie, Clopay, Amarr, Wayne Dalton, Craftsman, and Raynor hardware, and a trained eye catches a lot in an hour.
How to Run a Balance Test and Force Test at Home
Both of these are simple, and both need zero tools. They’re the two most useful tests a homeowner can run, and they tell you the difference between a door that needs maintenance and a door that needs a repair.
The balance test
- Disconnect the opener by pulling the manual release cord. The door should move freely by hand.
- Lift the door to about halfway and let it go.
- It should stay in place. If it drifts down or slams up, the door is out of balance. A door that won’t stay put halfway is either spring tension or a failing spring. Do not keep running it – call for repair.
- Lower the door to about a foot off the floor and release it. It should stay. If it drifts up or down, the same rules apply.
The force test
The force test checks whether the opener has enough resistance before it stops or reverses. Reconnect the door, then close it and try to stop it with one hand as it descends. It should push against your hand and reverse. If it won’t stop, the opener’s force setting is too high and needs adjustment – and until it’s adjusted, the door isn’t safe for anyone (pets, kids, or adults) to be under.
Both tests take about five minutes. Run them monthly if you’re diligent, but the balance test at least quarterly is a good routine. A door that passes both tests consistently is in good shape. A door that fails one is a call for repair.
Moisture and Wear Points Specific to Our Wet Winters
Shoreline’s wet season reshapes which parts of your door wear first. A garage door in a dry climate wears evenly across the hardware. A door in a wet climate wears fastest at the bottom, where moisture, road grit, and water pooling contribute. Here’s where to look close.
- The bottom panel and bottom seal: this is the wettest part of most doors. Water splashes up from the driveway and collects against the bottom panel. Inspect this area quarterly in the wet season, not just annually.
- The bottom hinges and roller stems: hinges closest to the floor get wet, and their pivot points corrode faster than hinges higher up. If a bottom hinge is stiff, lubricate it before it seizes. If a bottom roller is hard to turn by hand, the roller stem is likely corroded.
- The driveway threshold: how water drains away from the garage opening matters. If your driveway slopes toward the door, water pools against the bottom seal every rain. Solve the drainage first. A new seal won’t help if the puddle keeps coming back.
- The tracks: tracks get wet at the bottom and dry at the top. That’s fine – they’re designed to spill water. But debris trapped in the bottom of the tracks is the problem. Wipe out the bottoms of the tracks once a month during the wet season. Leaves and grit hold moisture against the rollers.
- The header seal and side jambs: these are above the splash zone but still get wet from wind-driven rain. Check them in the annual pass. A cracked side seal lets water into the door’s side panel behind the hinge plate.
We don’t need to guess which doors fail in the Shoreline area. Hardware that’s been wet for six months is visibly different from hardware that’s been dry, and when we work on a spring or an opener and the whole bottom of the door shows corrosion, we know the winter has been doing the work. The fix is usually a maintenance routine, not a replacement – but you have to start it before the wear sets in.
What You Can Safely Do vs. What Needs a Technician
The line here is clear, and it’s important. There’s a great deal you can do yourself, and a short list you should never touch. Learn the difference and you’ll save money without risking a serious injury.
Safe for a homeowner
- Lubricating hinges, rollers, and the torsion spring with a proper garage-door lubricant.
- Wiping the tracks with a damp cloth.
- Tightening hinge screws and mounting hardware.
- Running the monthly balance test and force test.
- Cleaning rust spots, then treating them with a rust-inhibiting primer or paint.
- Visually inspecting cables and calling when something looks wrong.
Needs a trained technician
- Any spring work. The torsion spring above your door is under extreme tension and holds enough stored energy to cause serious injury if it’s released incorrectly. Do not try to replace, adjust, or even tighten a spring yourself. A failing spring usually announces itself with a loud pop and a door that suddenly becomes very heavy. That’s the moment to call for garage door spring repair, not open the door and look.
- Cables. The cables that connect the bottom of the door to the spring system are also under very high tension. Frayed or failing cables must be replaced by a professional.
- Out-of-balance doors. If the balance test fails, the fix is spring tension – a technician job.
- Opener problems beyond sensor adjustment. Sensor alignment, force settings, and a blinking light pattern are homeowner territory. If the opener’s motor is failing, the circuit board is out, or the drive gear has stripped, that’s garage door opener repair.
- Track damage. A bent track or a door that’s off its tracks needs professional alignment.
- Rusted or failed structural hardware. Hinge plates, mounting brackets, and the track brackets themselves are load-bearing – not a homeowner job if they’re compromised.
Brand Notes: Opener and Door-Specific Tips
Most homes in the Shoreline area have one of a handful of common door and opener brands. A few notes on the ones we see most.
LiftMaster and Chamberlain openers. These are the most common openers on residential doors. They use similar logic boards and safety-sensor systems, so the checking routine is the same. The most common homeowner fixable issue is a misaligned safety sensor – the indicator lights tell you which side has the problem.
Genie openers. Genie tends to use a slightly different force-setting mechanism and a different safety-reverse sensor layout. If your Genie’s force is out of adjustment and the safety reverse isn’t working, the adjustment location in the manual matters. If you’re not sure, that’s a call to us.
Clopay and Amarr doors. These are common panel door brands. Clopay and Amarr panels are generally straightforward to maintain – the hinge and roller inspection routine is the same. Any panel replacement or hinge repair that involves the door’s structural panels usually needs a professional, but the maintenance side is homeowner territory.
If you have a Claude – sorry, Clopay, Amarr, Wayne Dalton, Craftsman, or Raynor door, the maintenance schedule in this guide applies the same way. The parts and the procedures don’t change by brand. When we work on these brands, the differences show up in how the hardware is mounted and how the spring is tensioned – which is exactly why spring work should go to a technician. The brand is a compatibility fact; the correct procedure is technical.
Common Mistakes to Avoid
- Lubricating the tracks. Tracks should stay clean and dry. A greased track collects grit and makes the door bind.
- Using WD-40 as the primary lubricant. It’s a penetrating oil, not a long-term lubricant. It attracts dust and dries out.
- Ignoring the balance test. A homeowner who never runs a balance test doesn’t know if the springs are failing. A failing spring is a serious safety issue, not a maintenance item.
- Ignoring the bottom seal in the wet season. This is the Shoreline-specific mistake. A seal that’s holding water against the bottom panel will corrode the door. Watch it during the wet months.
- Trying to adjust the spring or cable yourself. Both are under very high tension. If you don’t know what you’re doing, the injury potential is serious.
- Over-tightening hinge screws. Snug is fine. Over-tightening strips the screw hole in the door panel and creates a new problem.
- Skipping the annual inspection. The annual pass is where you catch the cable wear, the track misalignment, and the opening weatherstripping. Fifteen minutes monthly won’t replace an annual hour.
See the difference
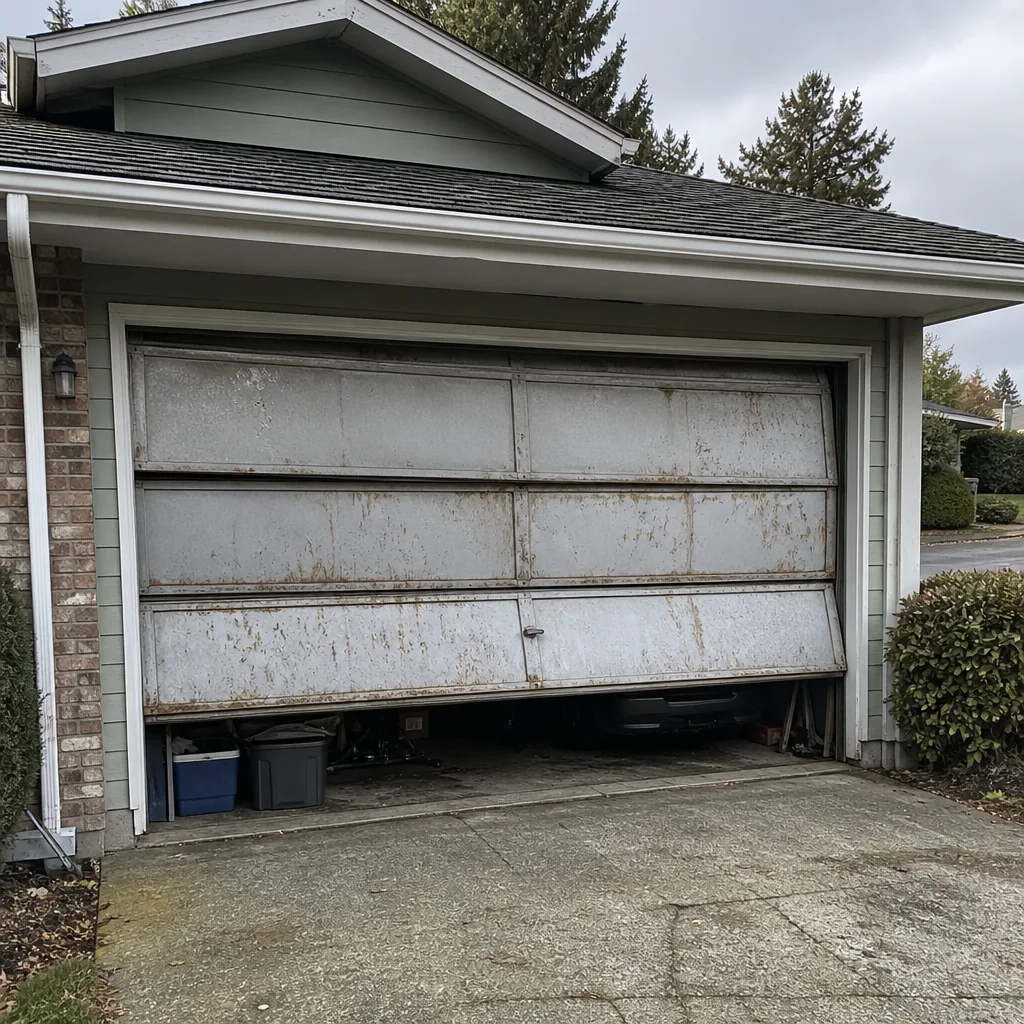 Before
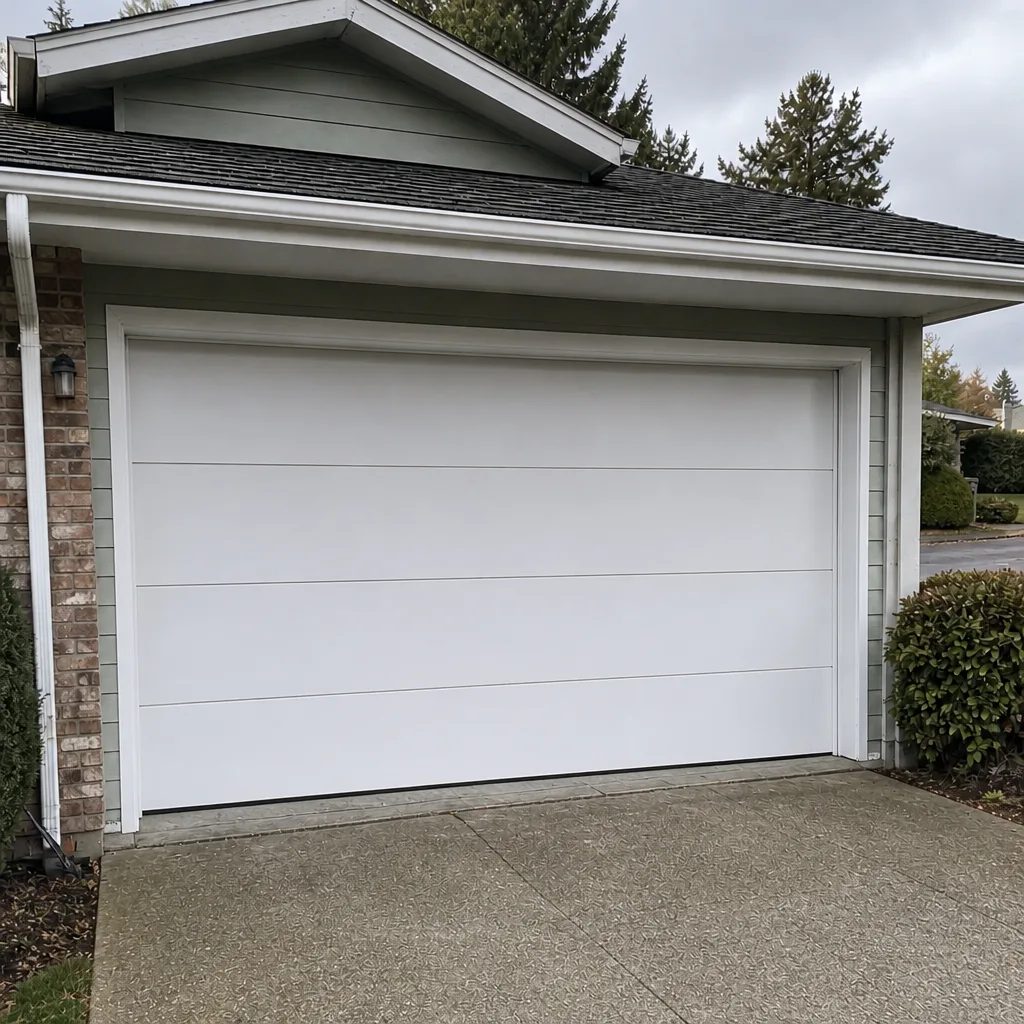 After
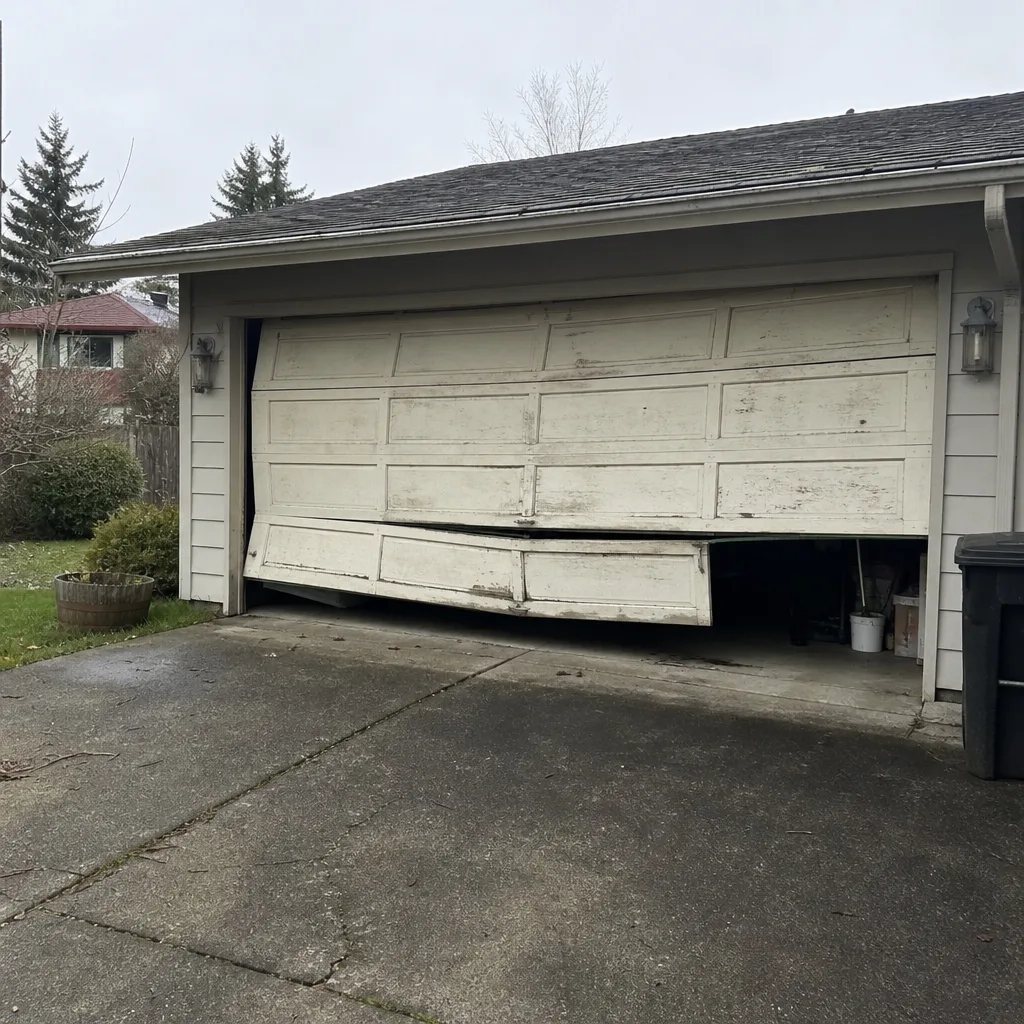 Before
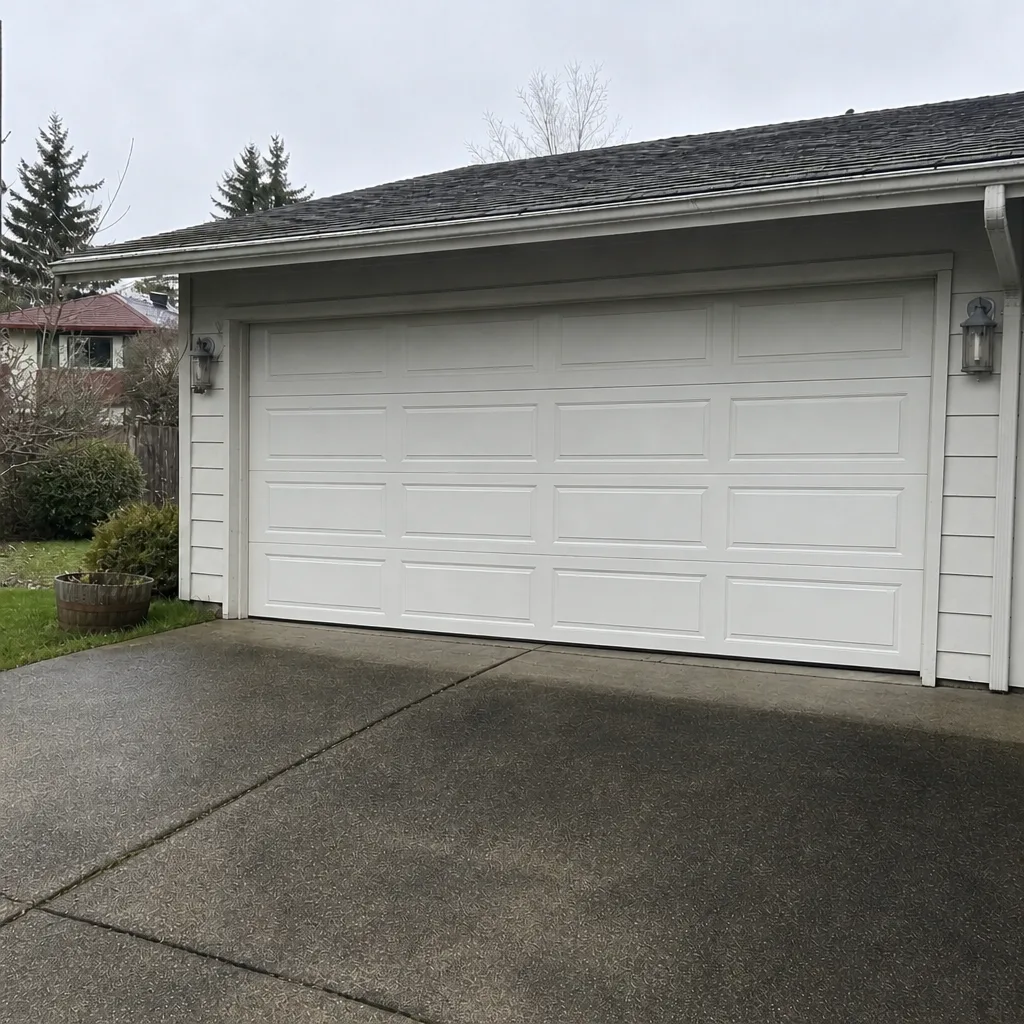 After
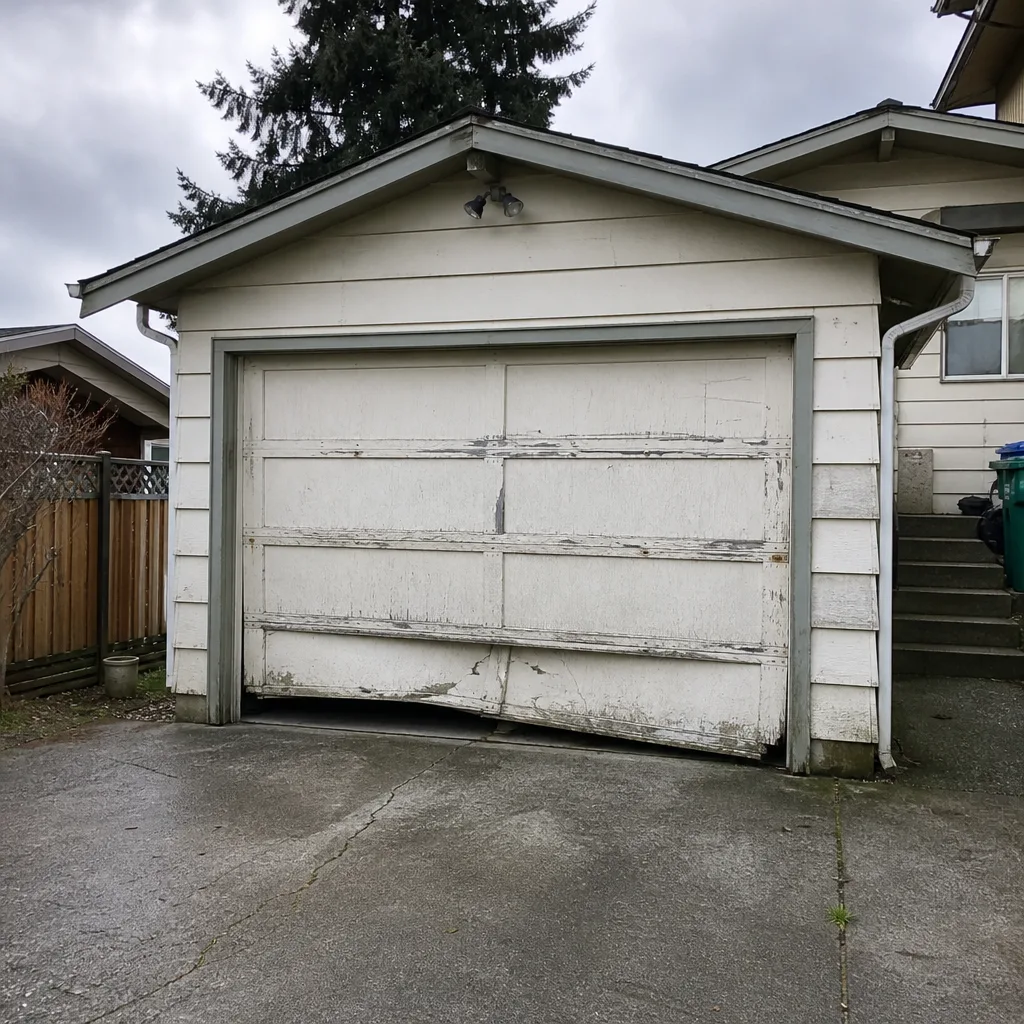 Before
 After
When to Call a Professional
Call for help if the balance test fails, if a spring has popped, if a cable is visibly frayed or slack, if the door won’t close evenly, or if the opener keeps reversing for no reason. Those are the cases where the next step is a repair, not a maintenance task. Also call if the bottom hardware has significant rust that’s compromising the hinge or track brackets – corrosion that’s reached structural parts needs a technician’s eye before it becomes a bigger problem.
Shoreline Garage Door Repair Co offers free estimates in Shoreline – call (877) 792-6834. We work on the brand you already own, and we show up to fix it, not sell you something new. If a repair will do, we’ll tell you that. If your door needs the expertise of a spring specialist, that’s what we do.
Frequently Asked Questions
Lubricate the hinges, rollers, and torsion spring every three months with a garage-door-specific lubricant or white lithium grease. Wipe the tracks with a damp cloth monthly during the wet season but do not lubricate them. The three-month interval is the homeowner standard; more frequent use or more frequent wet weather may push you toward a shorter interval.
Never use WD-40 as a long-term lubricant, never use motor oil or cooking oil, and never grease the tracks. WD-40 is a penetrating oil that dries out and attracts dust. Motor oil runs and drips in heat. Greased tracks collect grit and cause the door to bind. A garage-door-specific spray or white lithium is the correct choice.
No. Torsion and extension springs are under extreme tension, and releasing one incorrectly can cause serious injury. Spring work is a technician job, which is why we offer garage door spring repair as a named specialty. If your spring has popped – usually a loud bang followed by a door that won’t lift – stop using the door and call for repair.
Disconnect the opener using the manual release, lift the door to halfway, and let it go. A balanced door stays in place. A door that drifts down or slams up is out of balance and needs spring repair. Run this test quarterly. If it fails, don’t keep opening and closing the door – call for an estimate.
You can lubricate hinges, rollers, and springs, tighten hinge screws, clean tracks, and run the balance and force tests. A technician should handle springs, cables, out-of-balance doors, track realignment, and any structural hardware that’s failed. When a garage door repair goes beyond maintenance, that’s the point to call.
It changes where you focus, not the main intervals. The monthly and quarterly schedule is the same, but pay closer attention to the bottom seal, bottom hinges, and the tracks during the wet season. Check for water pooling against the bottom panel after storms. Rust and moisture damage show up first at the bottom of the door, and that’s the area to watch most closely in Shoreline.
The Bottom Line
Maintenance that works is maintenance that’s timed and prioritized. Fifteen minutes a month, a light lubrication pass every quarter, and an hour once a year before the wet season will keep almost any door in working order for years. The two things that matter most in this climate are keeping the bottom seal and tracks clean of standing moisture and never lubricating the tracks themselves. Anything involving springs or cables is a technician’s job – and when you need one, Shoreline Garage Door Repair Co is here for you. Call (877) 792-6834 for a free estimate and get your door back in working order. Repair first, replace only when necessary.
Written by the team at Shoreline Garage Door Repair Co.